Help CenterShot Setup FAQs & Troubleshooting
Indoor Setup Detailed Guide
Last updated October 13, 2026
Indoor Mode is built to help you capture accurate swing and ball data when you’re practicing inside. But indoor environments can create challenges that don’t exist outdoors, like poor lighting, limited ball flight, and background clutter.
To accurately measure your shot result indoors, there are 3 important elements that you need:
- Accurate measurement of the distance between your phone and the impact surface
- A consistent, soft surface where your ball makes an indent that can be detected by the phone
- A well-lit area with a minimum of 8 ft./2.5m and a maximum of 18 ft./5.5m between your phone and the impact surface.
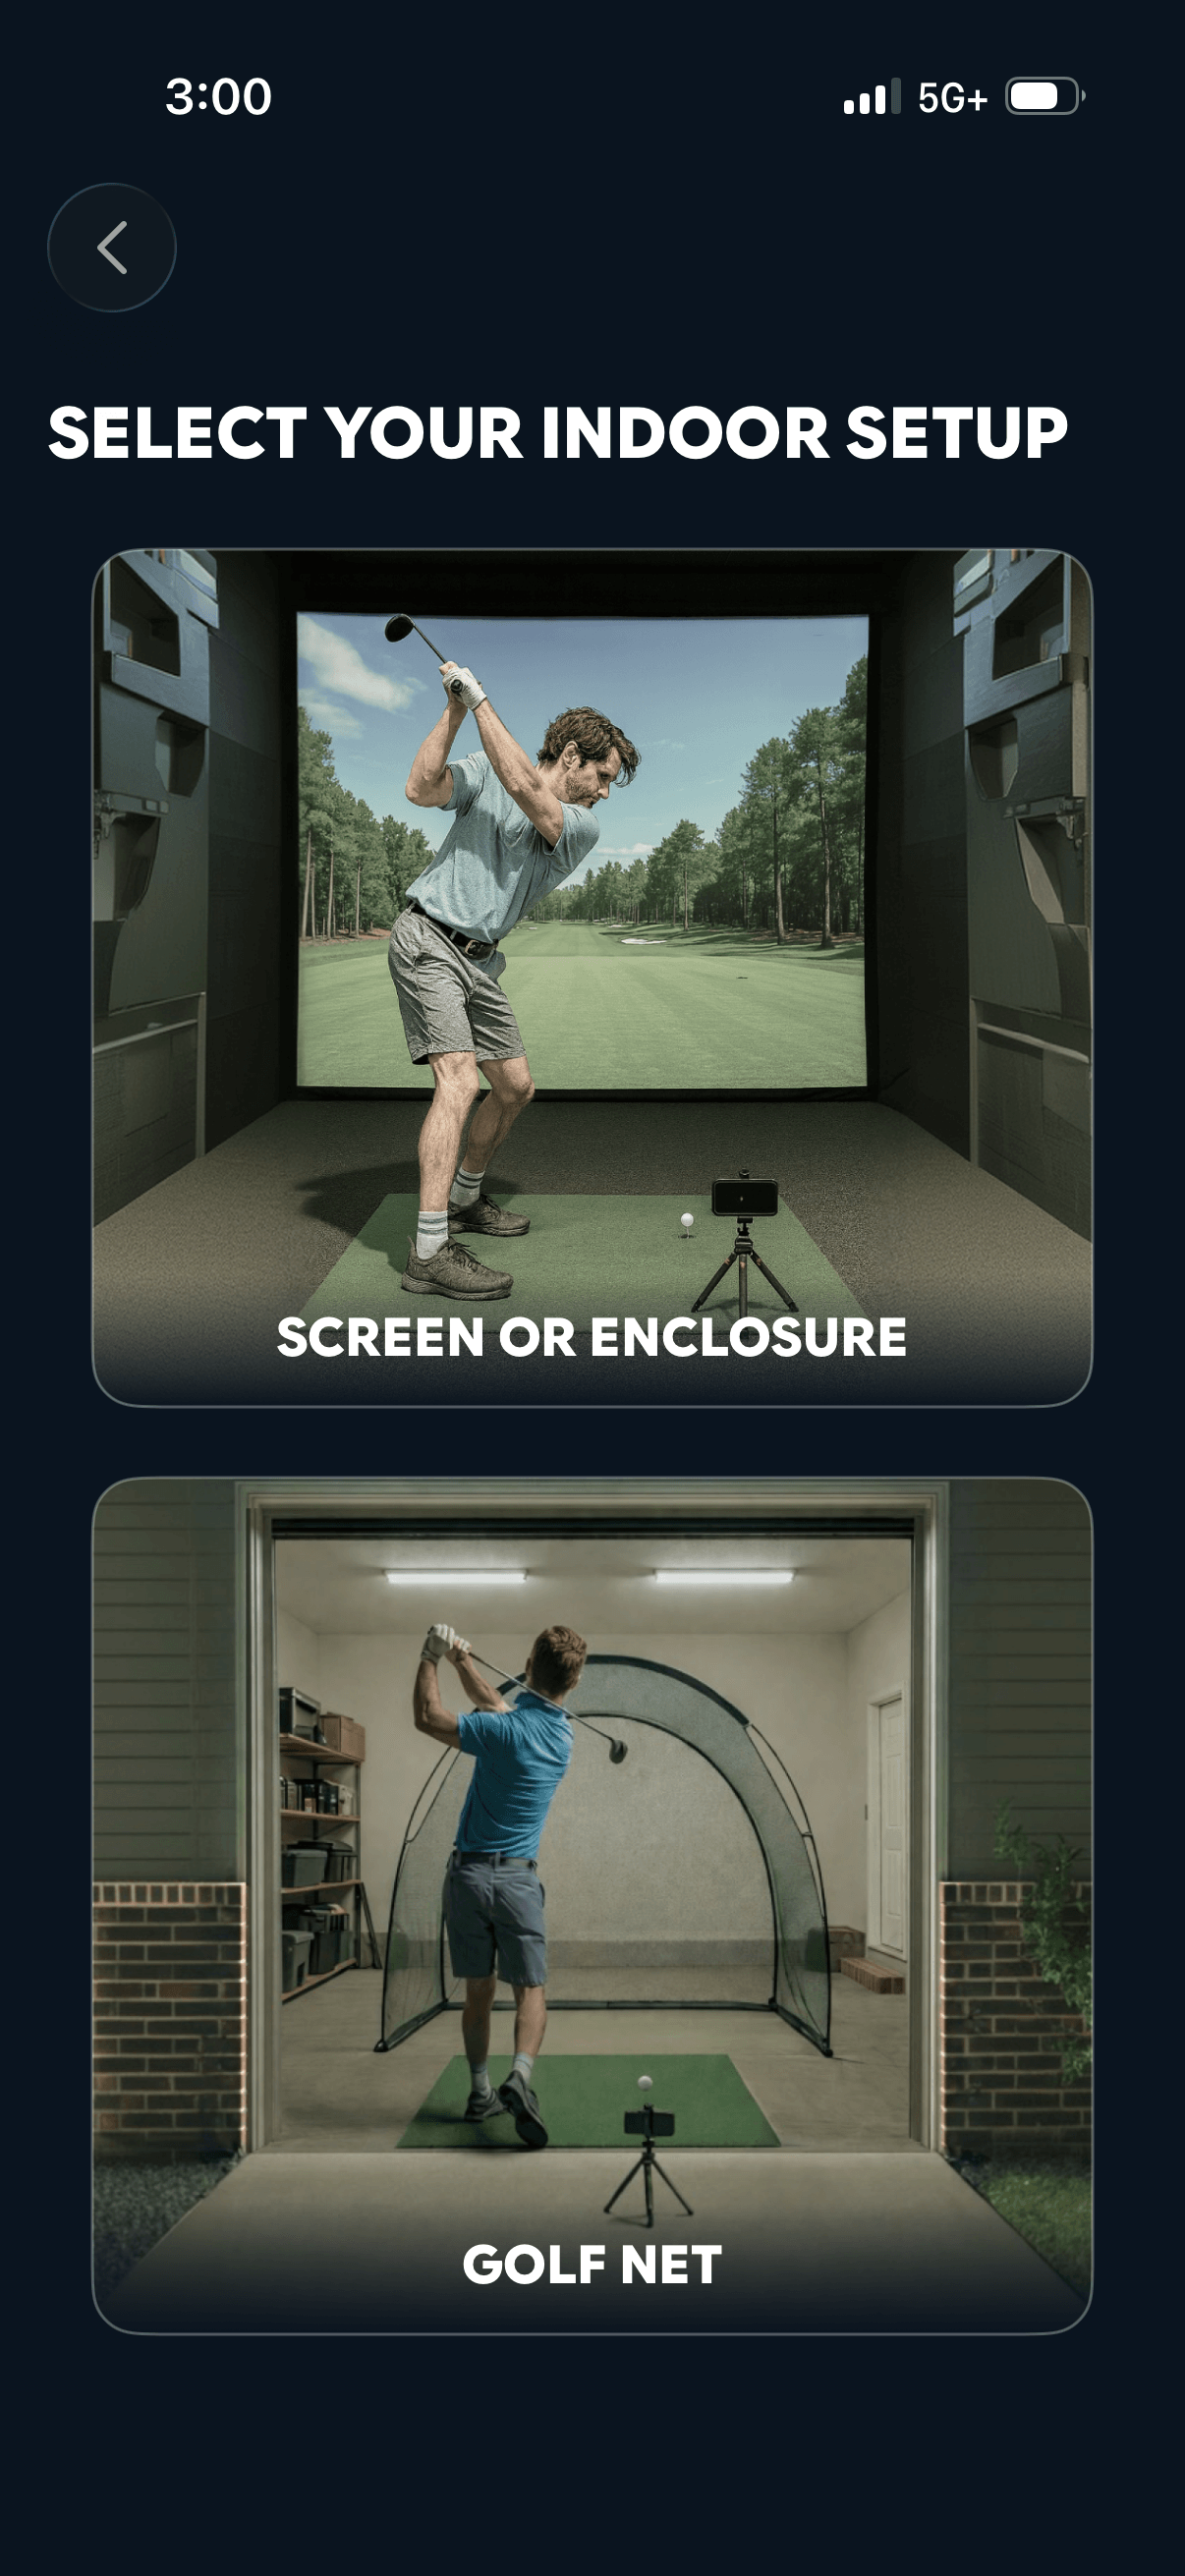
Step 1: Choose the correct indoor environment
Our AI Models and algorithms use different processing depending on the surface the ball impacts.
Both options must have soft, absorbing material so the ball’s impact point can be detected.
Practice or Hitting Net
- Surfaces that have transparent material
- They are designed to ‘catch’ the ball’s impact easily.
- Includes various shapes and designs, such as domes, curves, or temporary structures.
Screen or Enclosure
- Solid impact surface, such as an impact screen.
- Can include other options such as blankets, sheets or comforters
Step 2: Measurement
The MOST important part of your indoor setup is the accurate distance between your phone and the hitting surface. Incorrect measurements of just 2-4 inches/5-10 cm can result in a variance of 20m carry for your shot result.
To help measure the distance between your phone and your screen/net we have provided 2 options.
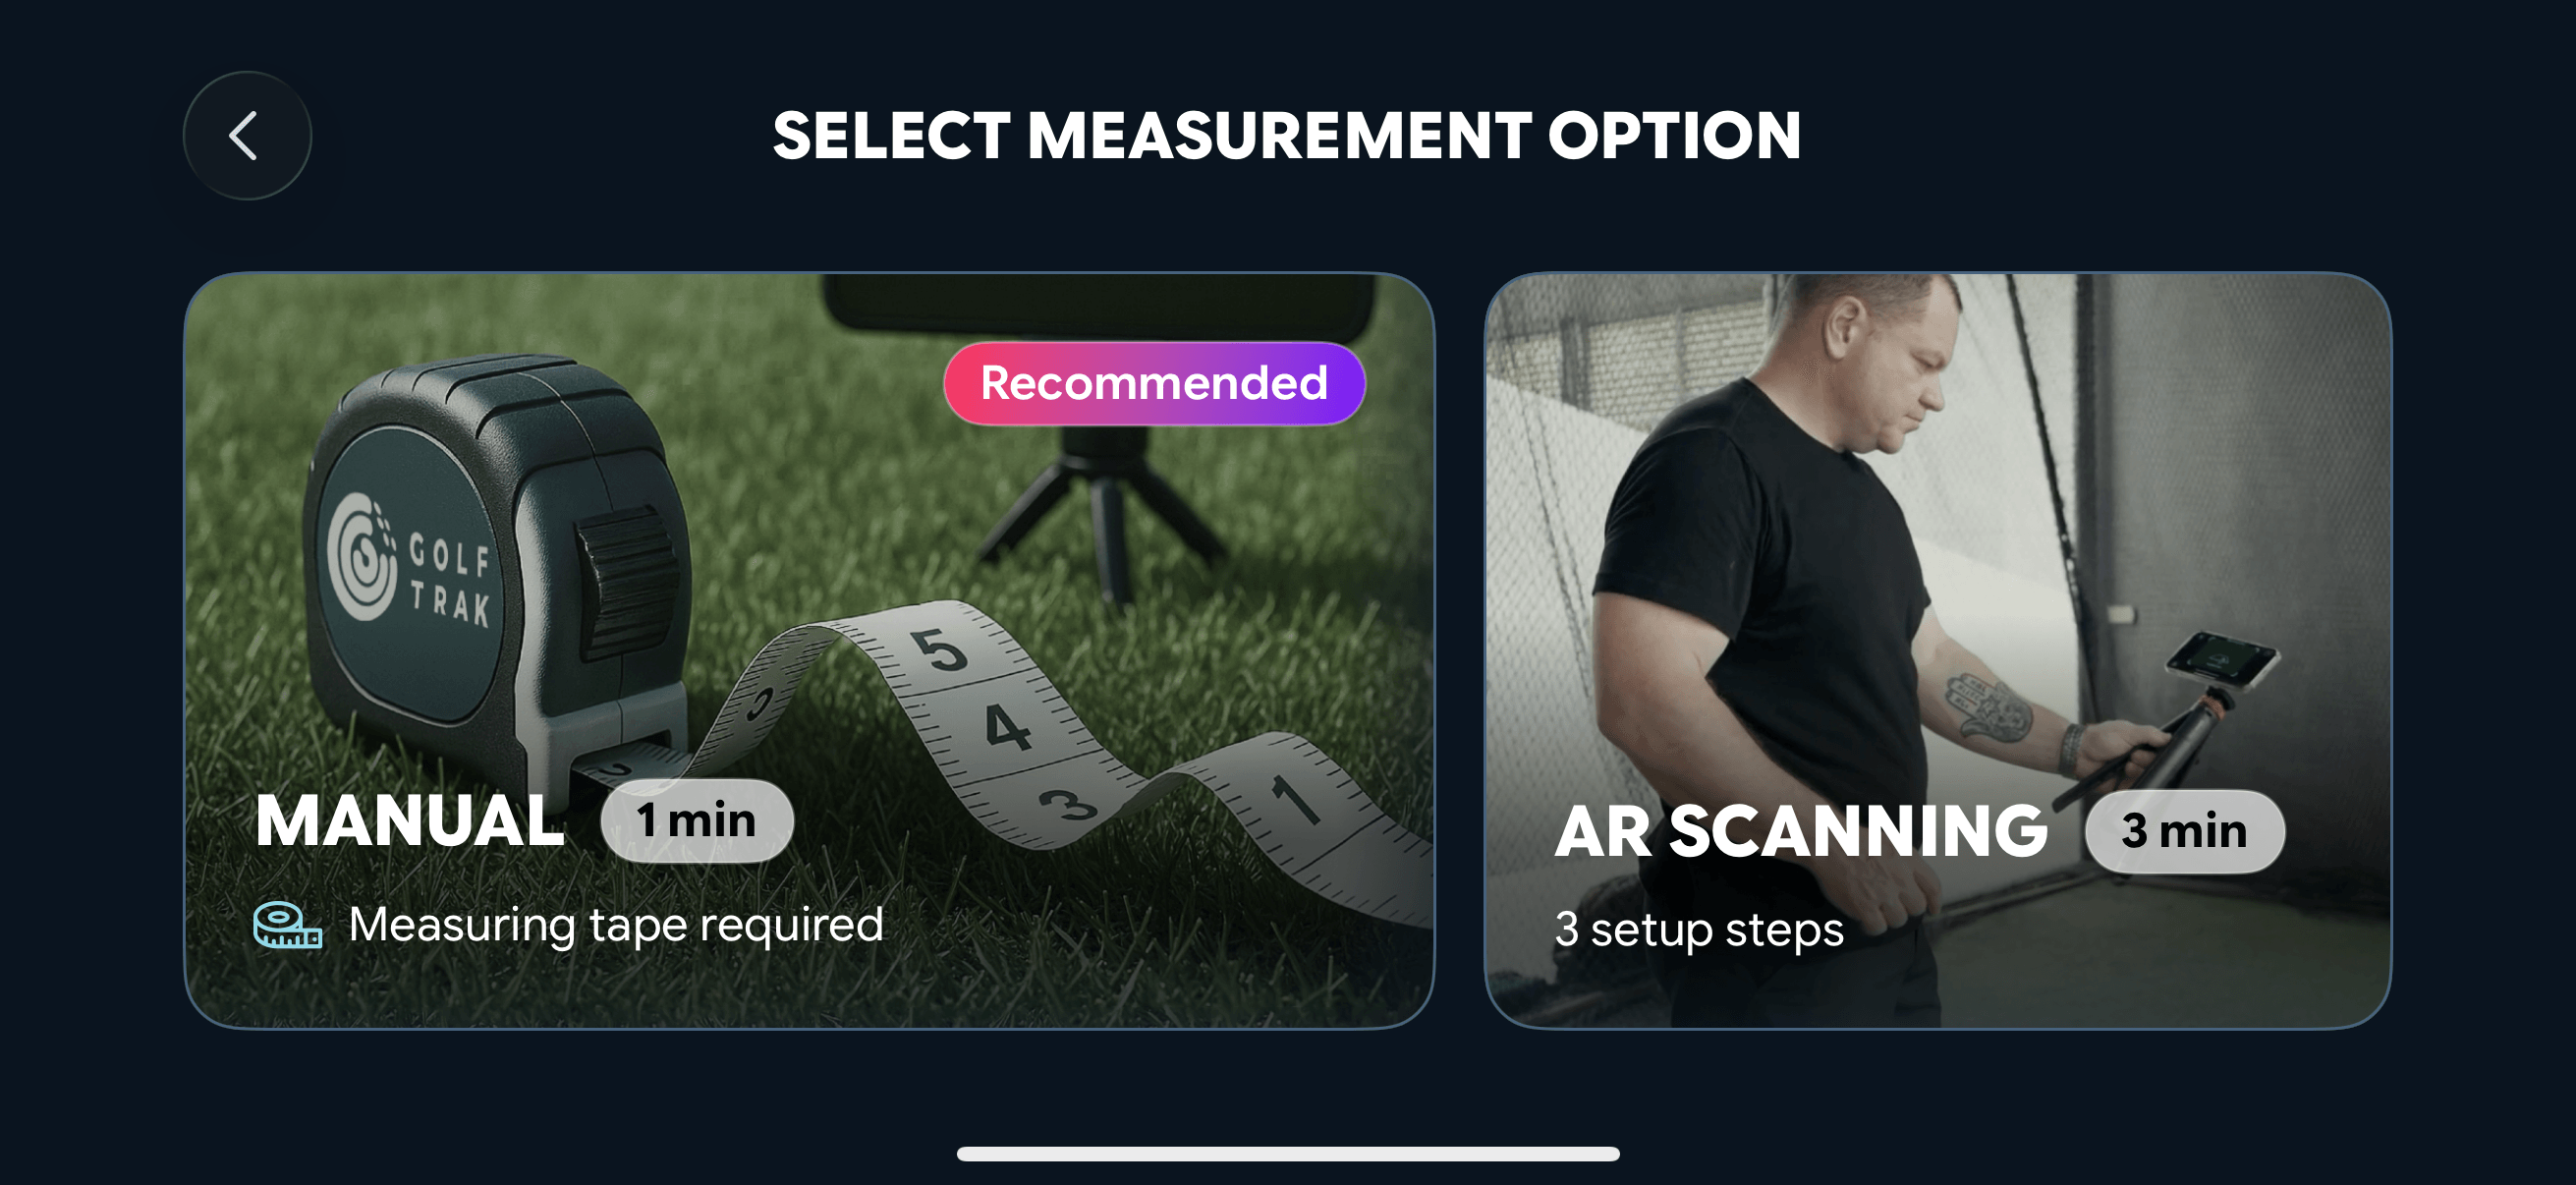
Manual Measurement
- Requires a measuring tape
- No scanning required
- Most accurate option.
Manual measurement lets you set the distance yourself using a measuring tape. You will measure between the same two reference points used in Automatic mode: the impact point on your net or screen, and the phone position behind the ball. This method removes any variability from scanning and ensures your measurements align precisely with your physical setup.
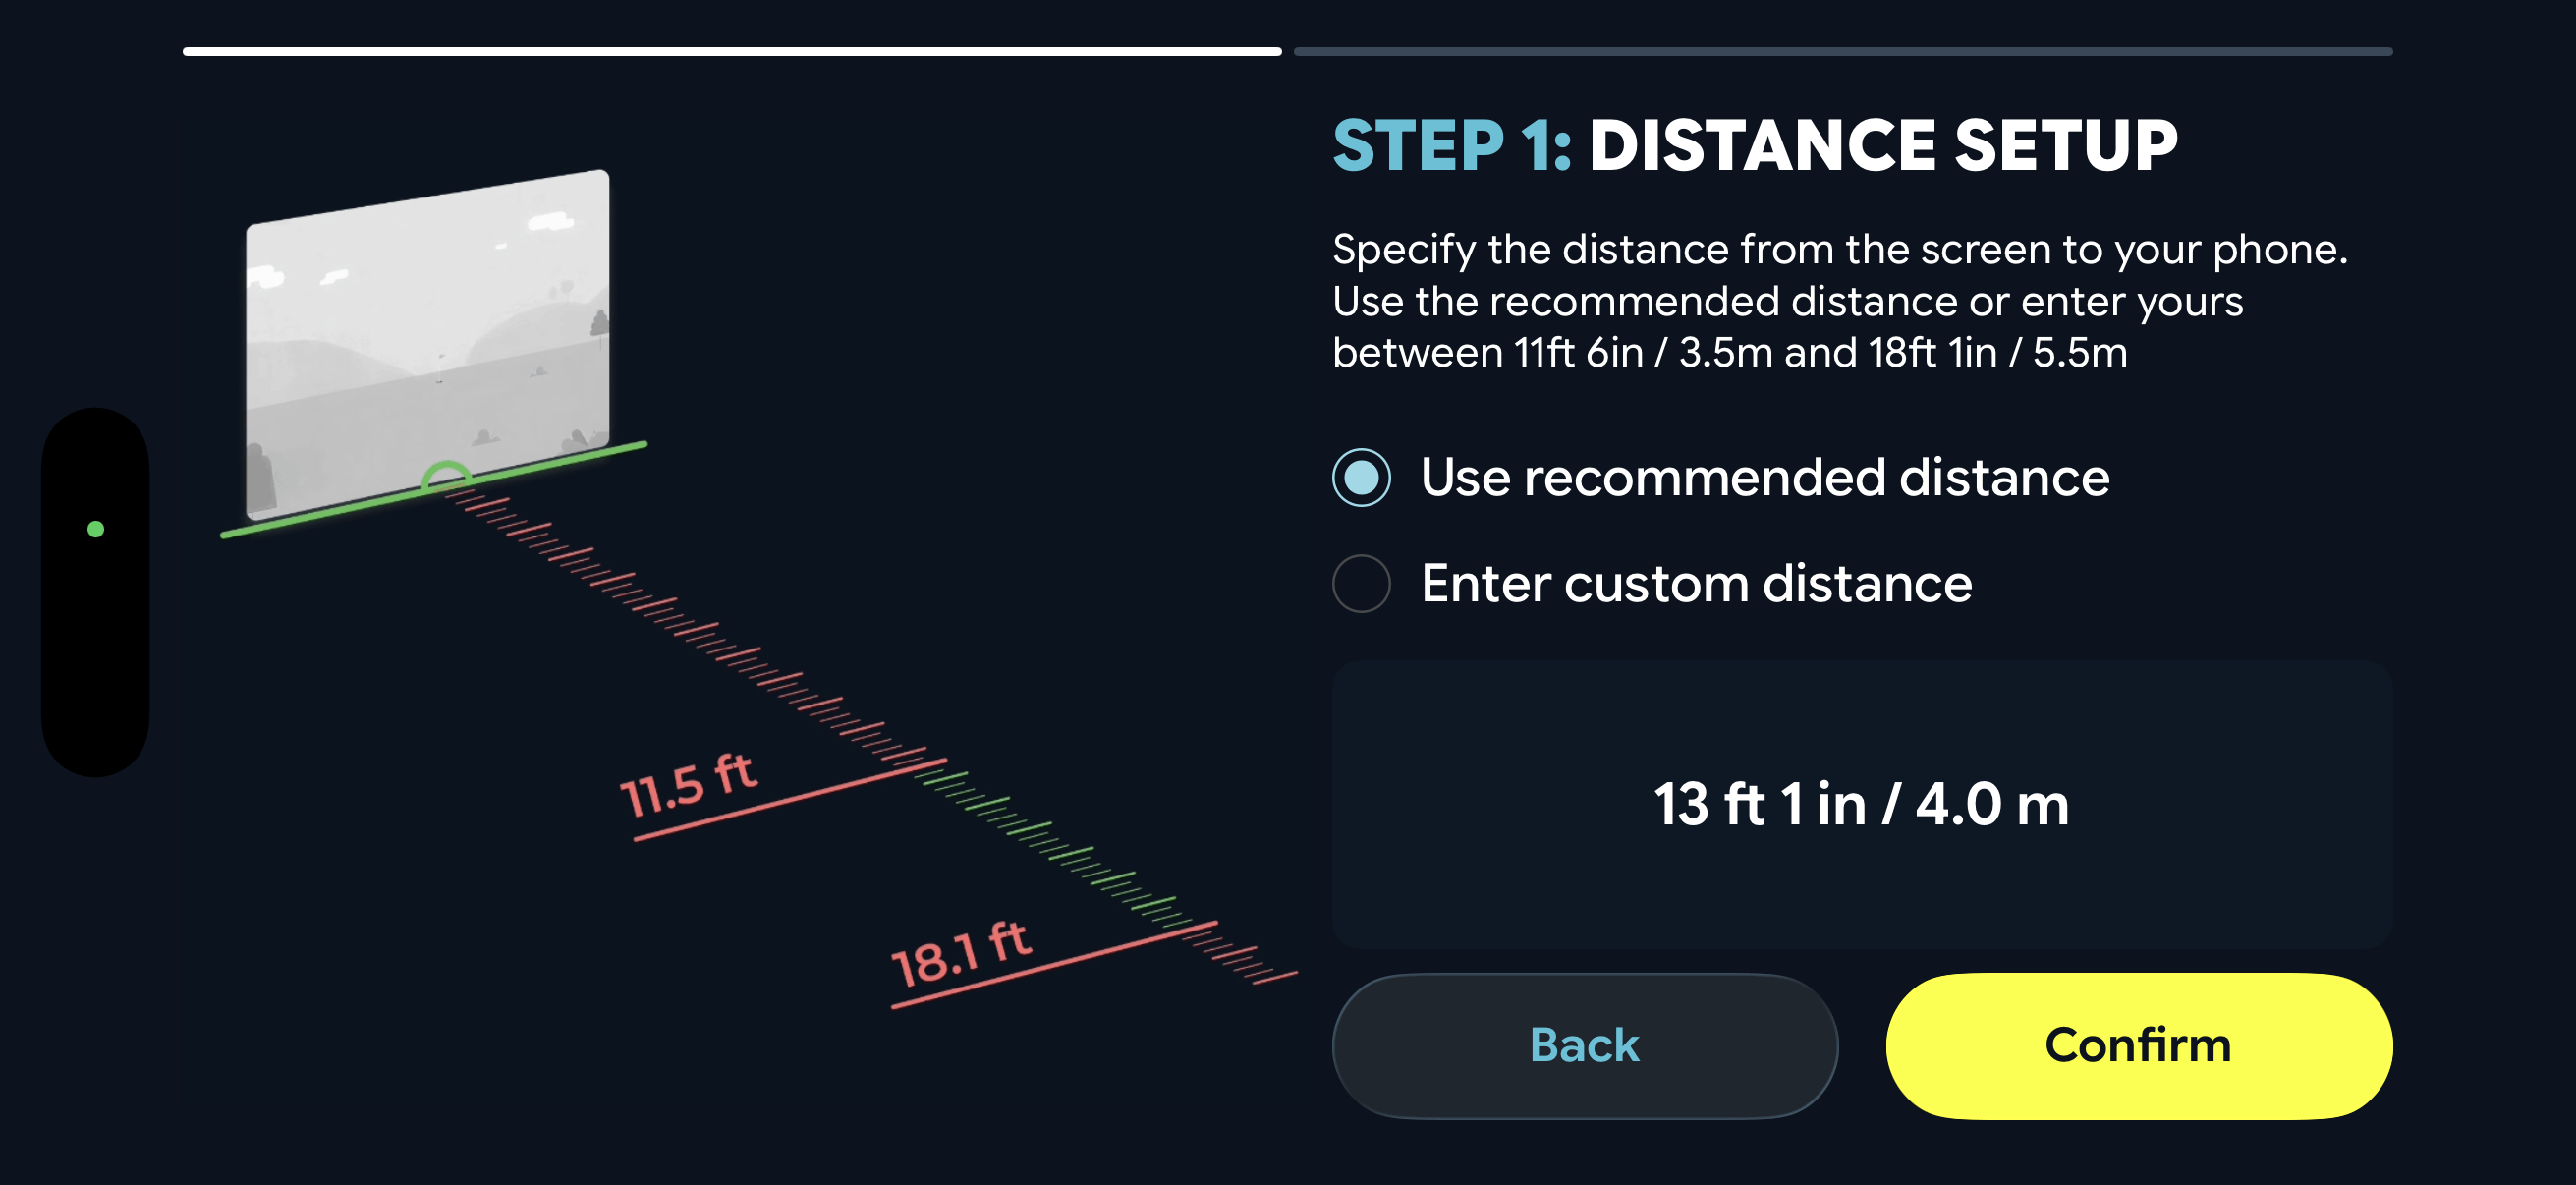
- Measure From the Impact Point — Place the start of your measuring tape directly against the front surface of your net or impact screen. This should be the exact point where the ball will strike.
- Measure Back to the Phone Position — Extend the measuring tape straight back along your target line to the point where your phone will be placed. You can use the recommended distance of 13 ft 1 in / 4.0 m, or choose your own custom distance if your space requires it.
- Enter Your Measurement — In the app, manually enter the distance you measured to confirm your setup. Make sure this value matches the exact distance from the net or screen to the phone position.
Step 3: Place Your Ball and Phone Correctly
In order to place your phone in the right position, follow these steps.
- Place your ball in the position where you will be hitting your shots from. This area of 8”x4”/20cm x 10xm will be where you place your ball for each shot during the session.
- Measure approximately 4 ft / 1.2 m behind the ball, in the direction away from your target. To estimate the distance, lay your driver flat on the ground behind the ball with the club pointing toward your hitting target.
- Place your phone on the ground at that measured point, at the end of the driver, with the phone positioned behind the ball and facing toward your hitting target.
Step 4: Stabilize and Calibrate Your Phone’s Position
In order for the phone’s camera to see both the strike and the ball’s impact point to track the shot correctly, you must angle and align it correctly.
Place your phone on the ground at the measured position behind the ball and wait a moment for it to sit completely still.
Step 5: Get Ready To Hit!
Once all setup steps are complete, the app will switch into ball detection mode.
If setup is completed correctly the app should detect your ball’s position immediately. You may be prompted to move your ball to a position where the app can better detect and track it. Follow the on-screen and audio prompts until your ball is detected.
Ready For Shot!